Programmatic API access with Postman
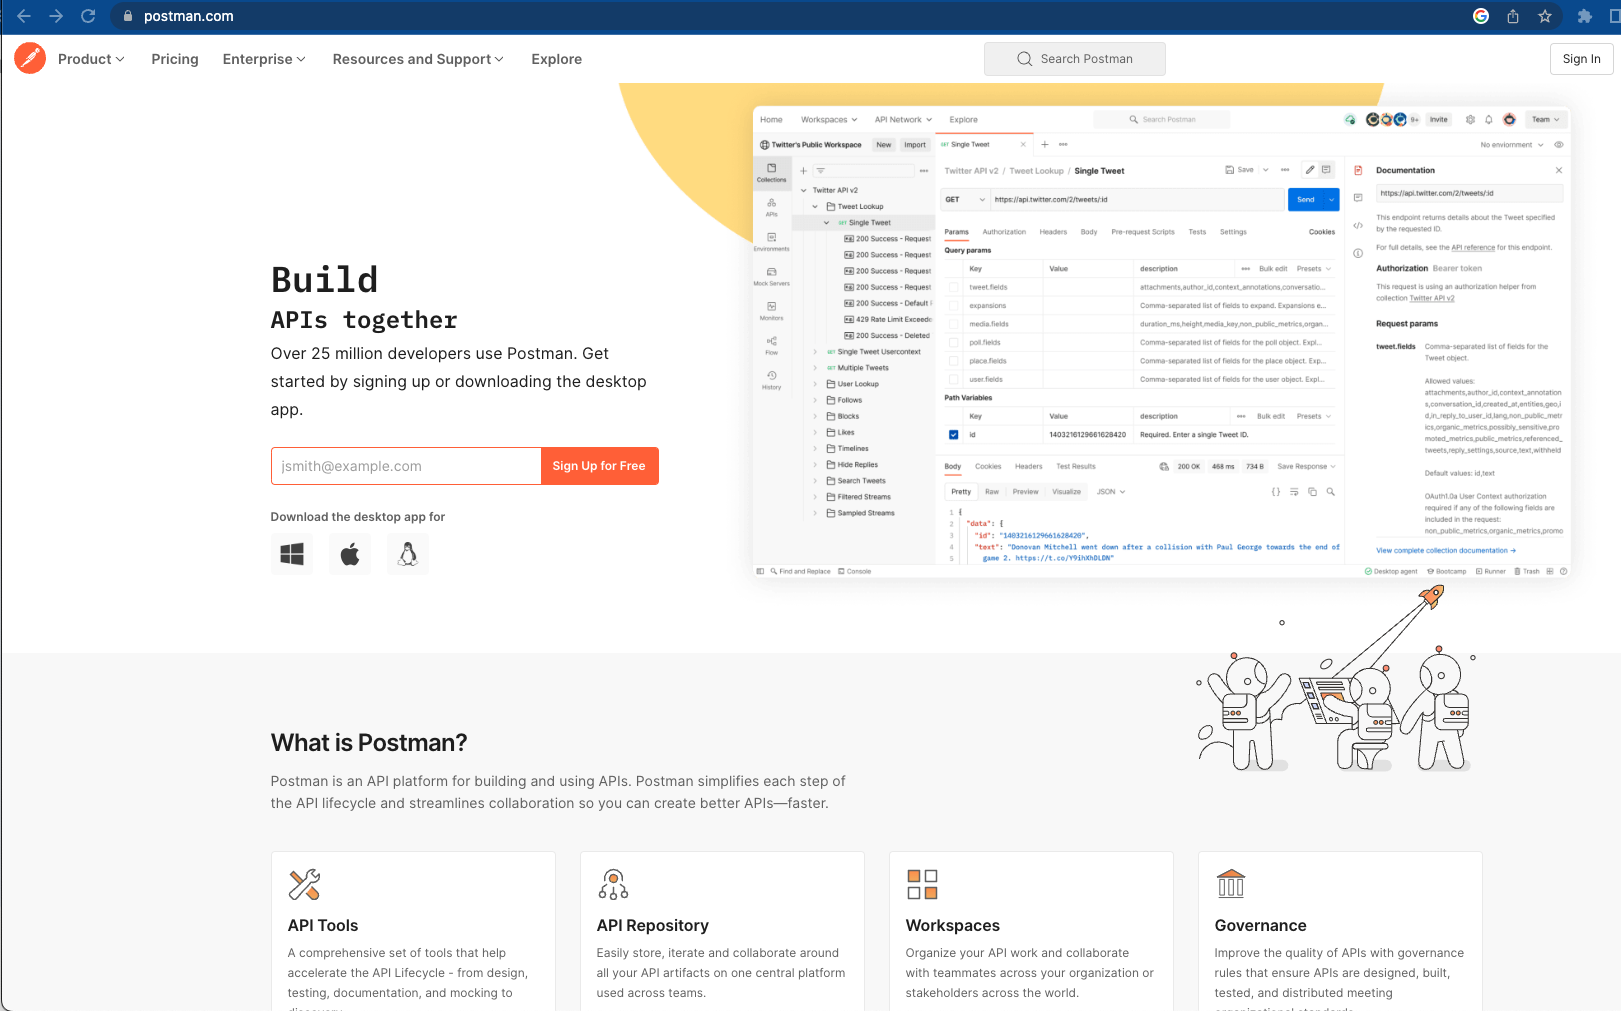
This guide will help you test the ClickHouse Cloud API using Postman. The Postman Application is available for use within a web browser or can be downloaded to a desktop.
Create an account
- Free accounts are available at https://www.postman.com.
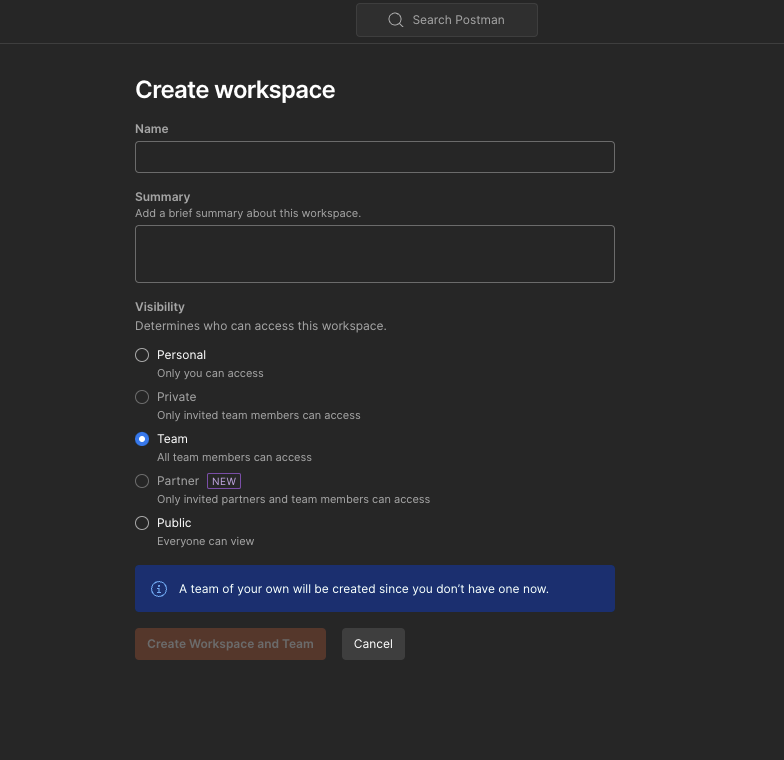
Create a workspace
- Name your workspace and set the visibility level.
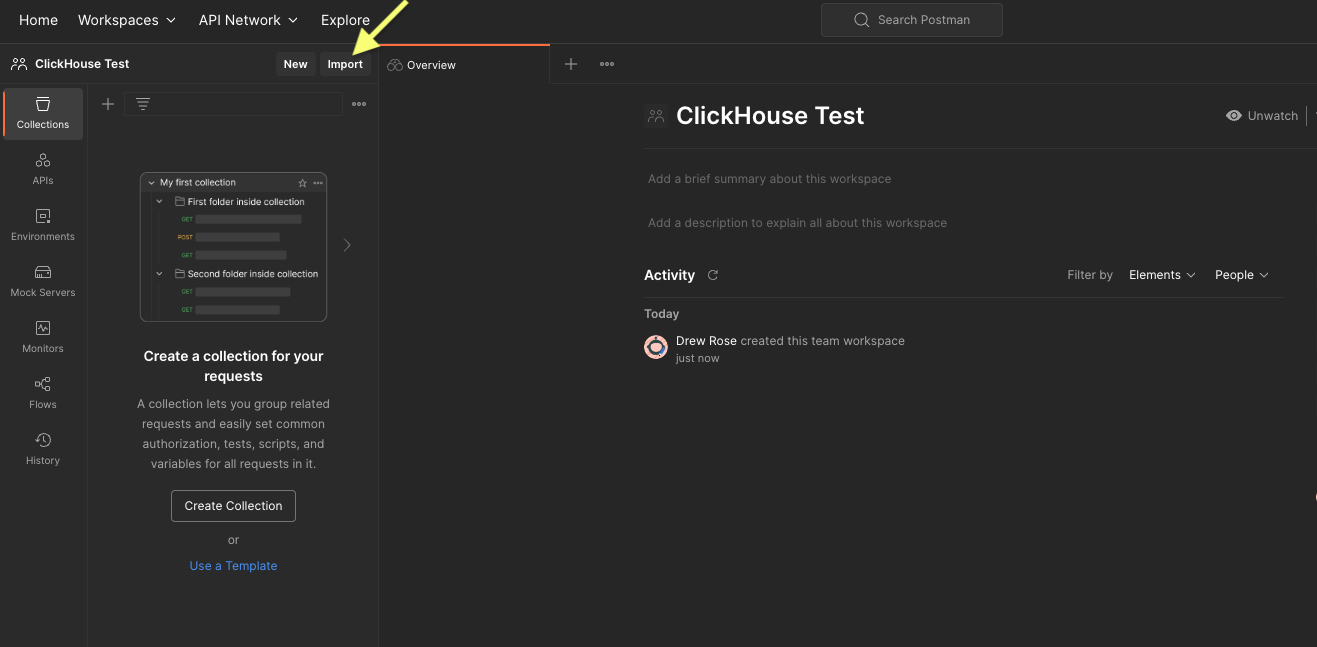
Create a collection
- Below "Explore" on the top left Menu click "Import":
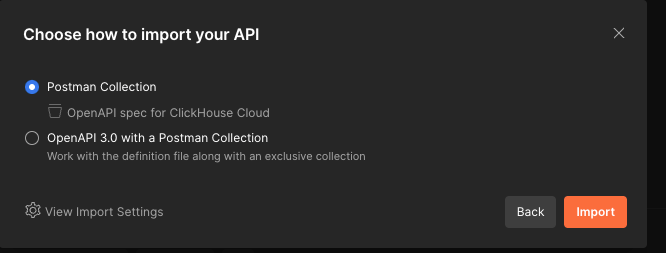
- A modal will appear:
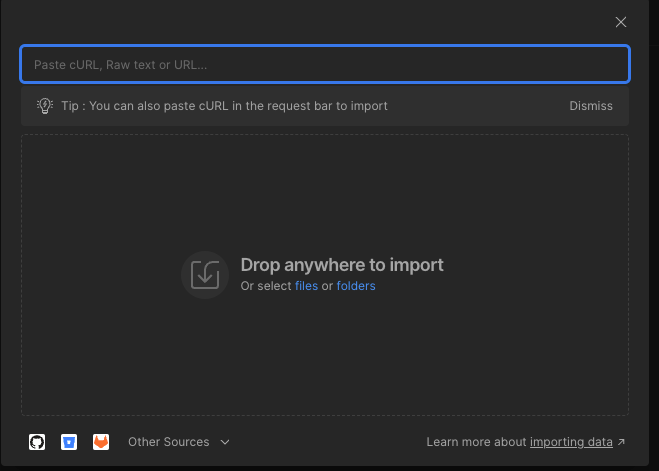
- Enter the API address: "https://api.clickhouse.cloud/v1" and press 'Enter':

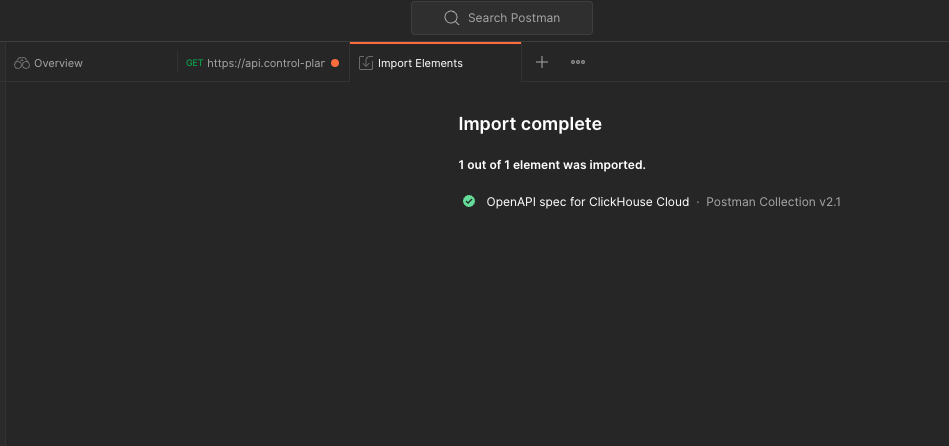
- Select "Postman Collection" by clicking on the "Import" button:
Interface with the ClickHouse Cloud API spec
- The "API spec for ClickHouse Cloud" will now appear within "Collections" (Left Navigation).
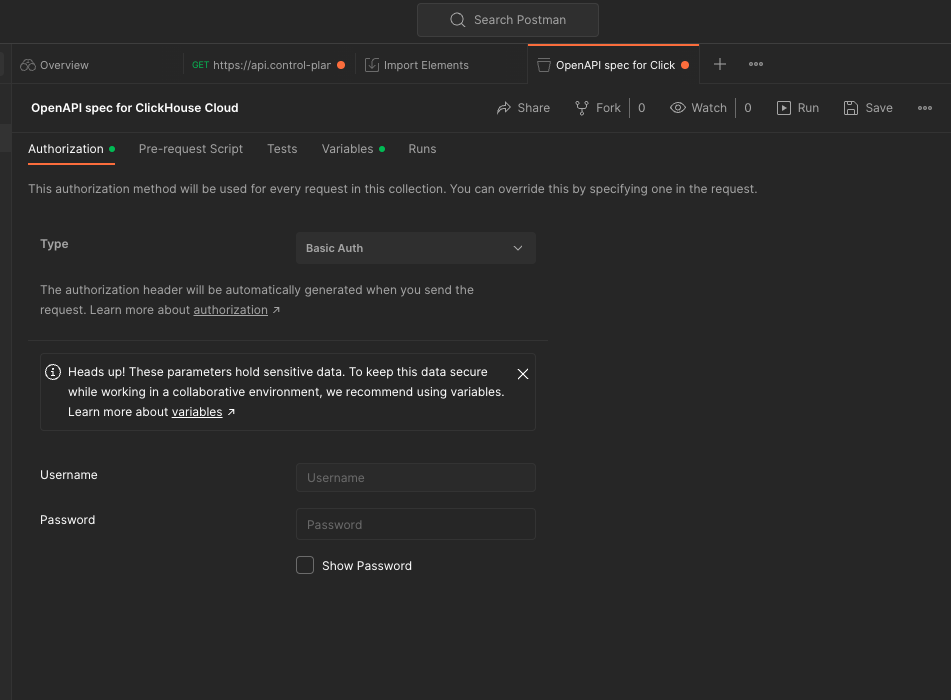
- Click on "API spec for ClickHouse Cloud." From the middle pain select the 'Authorization' tab:
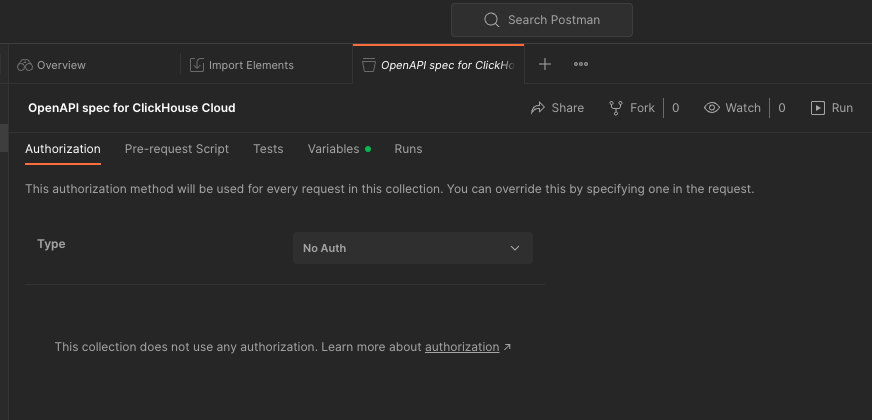
Set authorization
- Toggle the dropdown menu to select "Basic Auth":
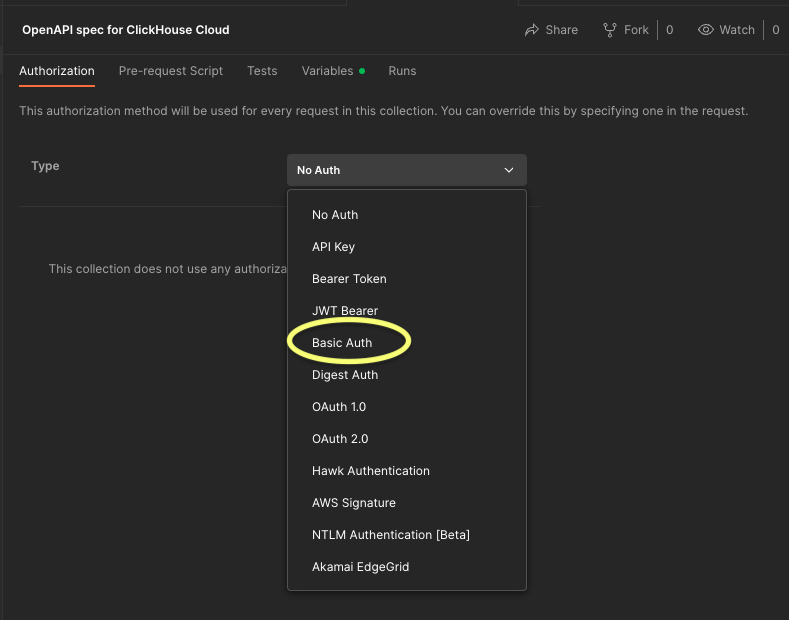
- Enter the Username and Password received when you set up your ClickHouse Cloud API keys:
Enable variables
- Variables enable the storage and reuse of values in Postman allowing for easier API testing.
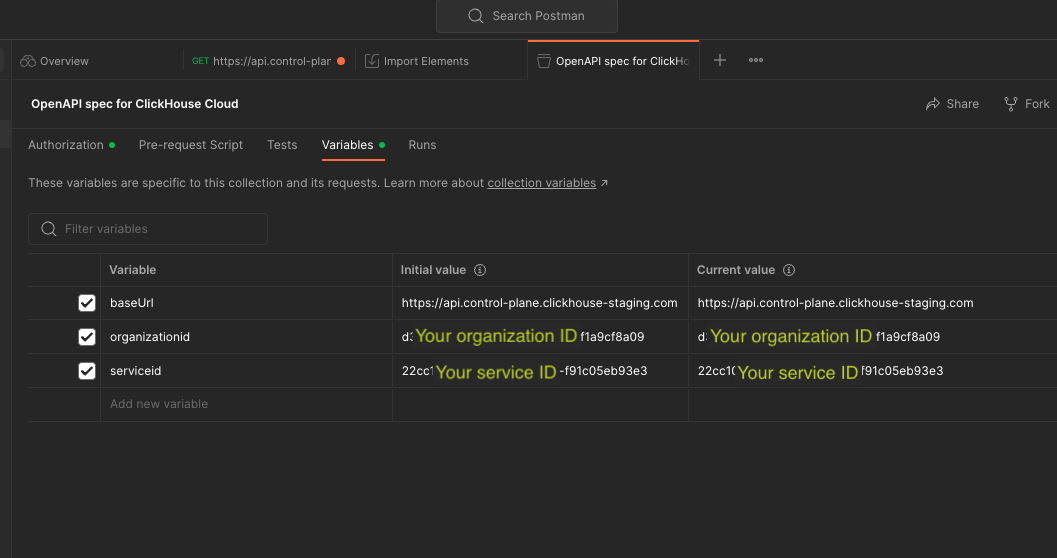
Set the organization ID and Service ID
- Within the "Collection", click the "Variable" tab in the middle pane (The Base URL will have been set by the earlier API import):
- Below
baseURLclick the open field "Add new value", and Substitute your organization ID and service ID:
Test the ClickHouse Cloud API functionalities
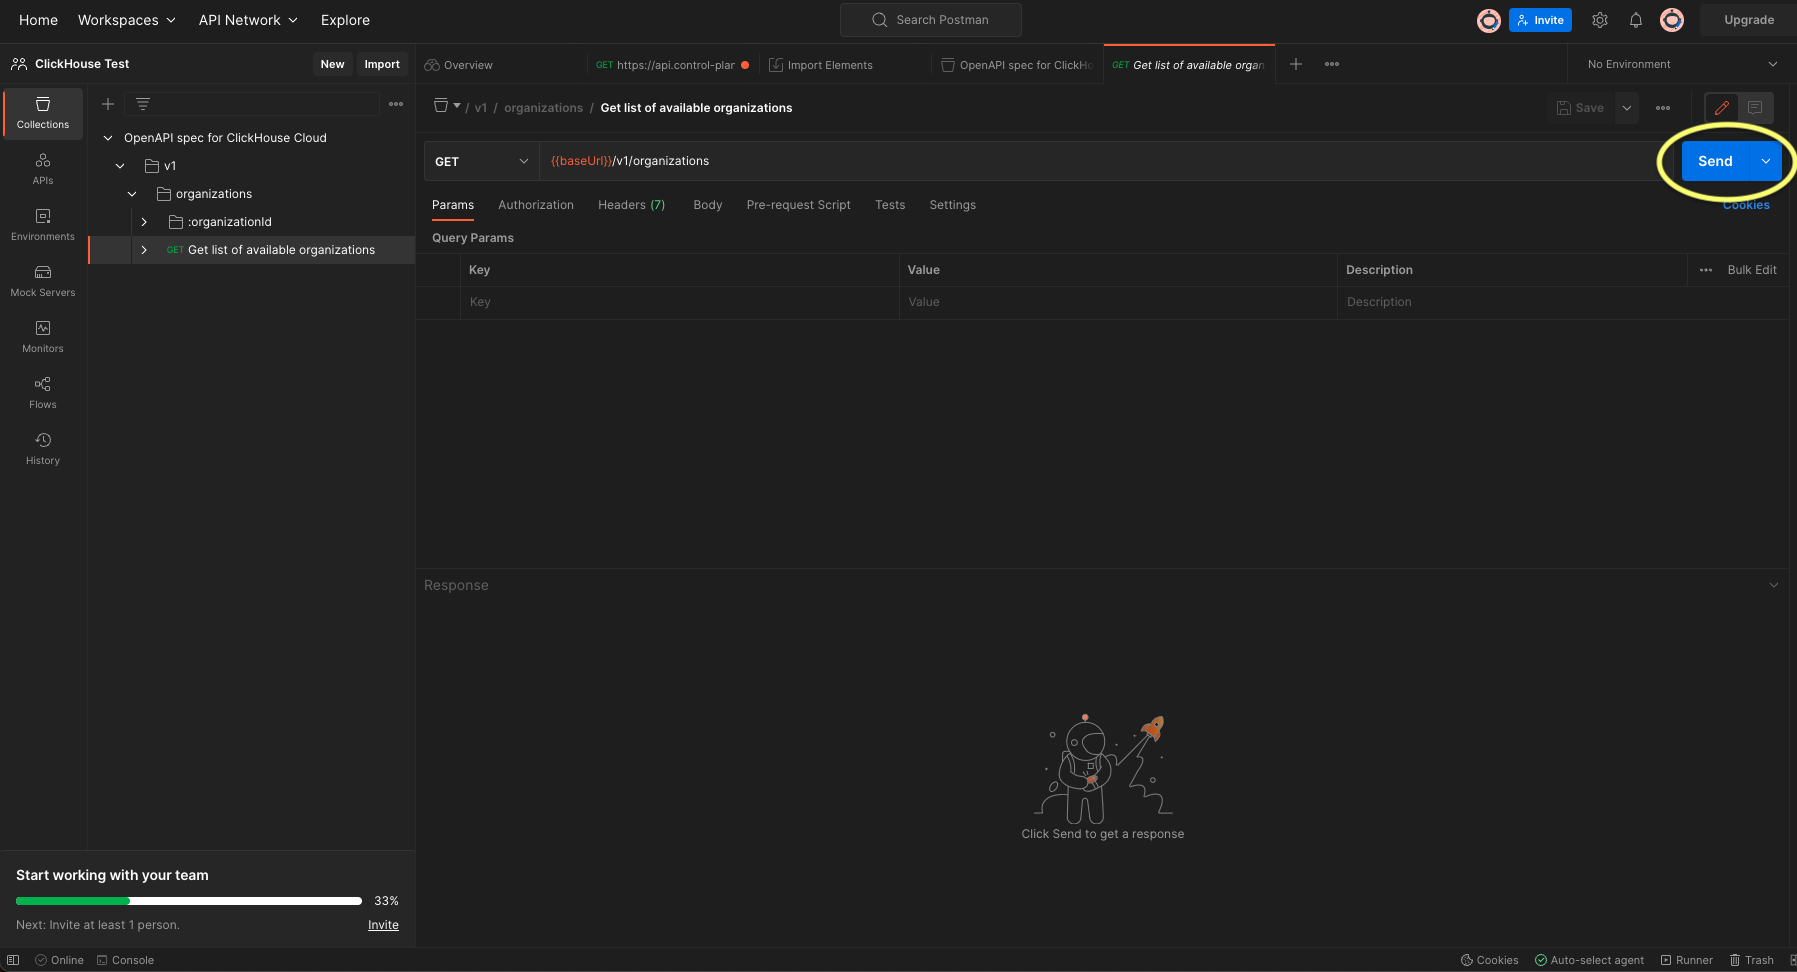
Test "GET list of available organizations"
- Under the "OpenAPI spec for ClickHouse Cloud", expand the folder > V1 > organizations
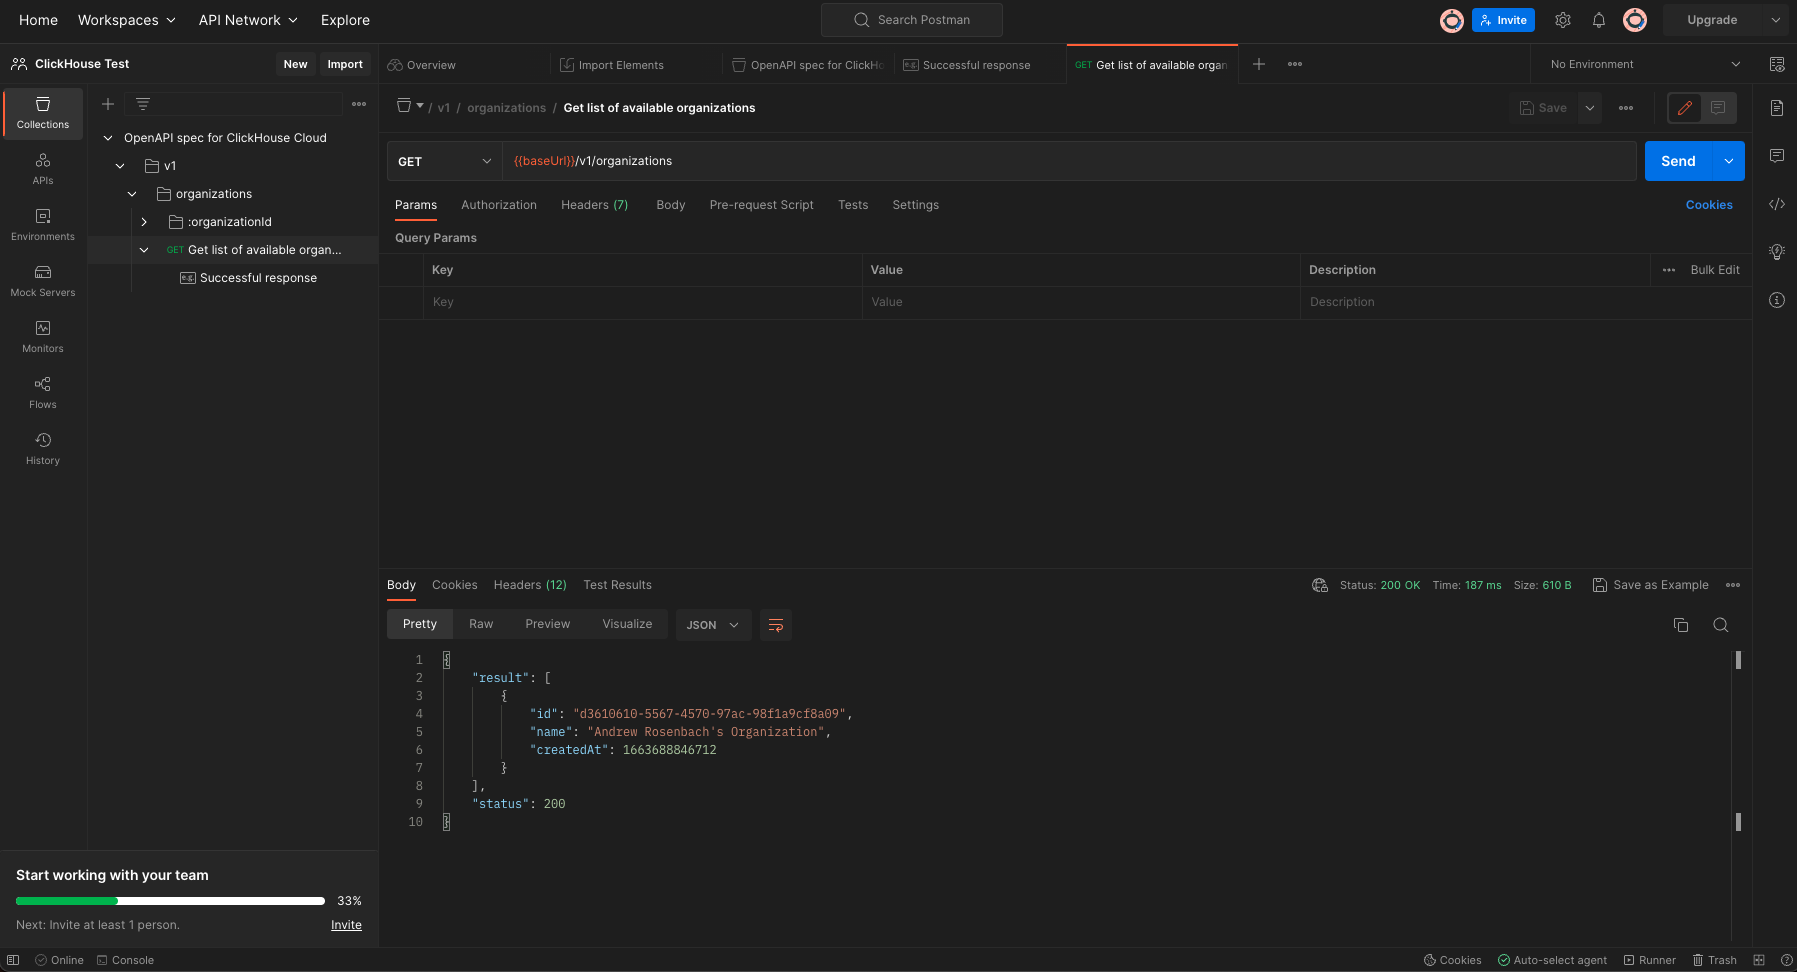
- Click "GET list of available organizations" and press the blue "Send" button on the right:
- The returned results should deliver your organization details with "status": 200. (If you receive a "status" 400 with no organization information your configuration is not correct).
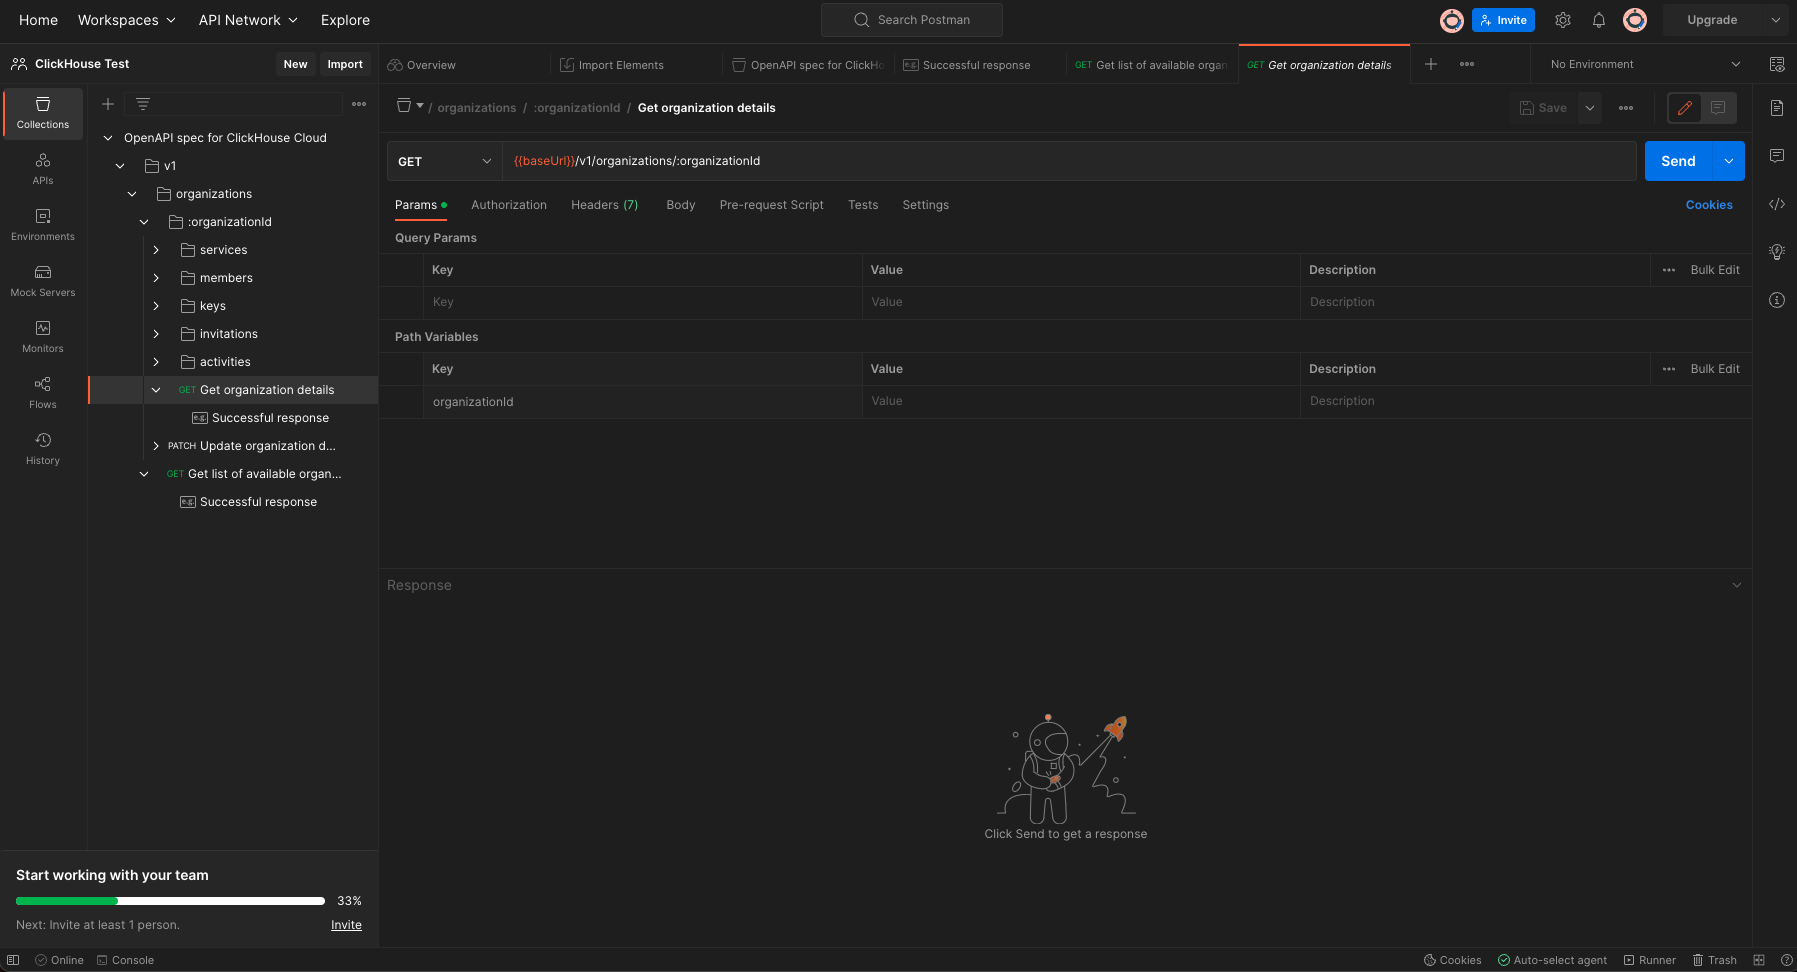
Test "GET organizational details"
- Under the
organizationidfolder, navigate to "GET organizational details": - In the middle frame menu under Params an
organizationidis required.
- Edit this value with
orgidin curly braces{{orgid}}(From setting this value earlier a menu will appear with the value):
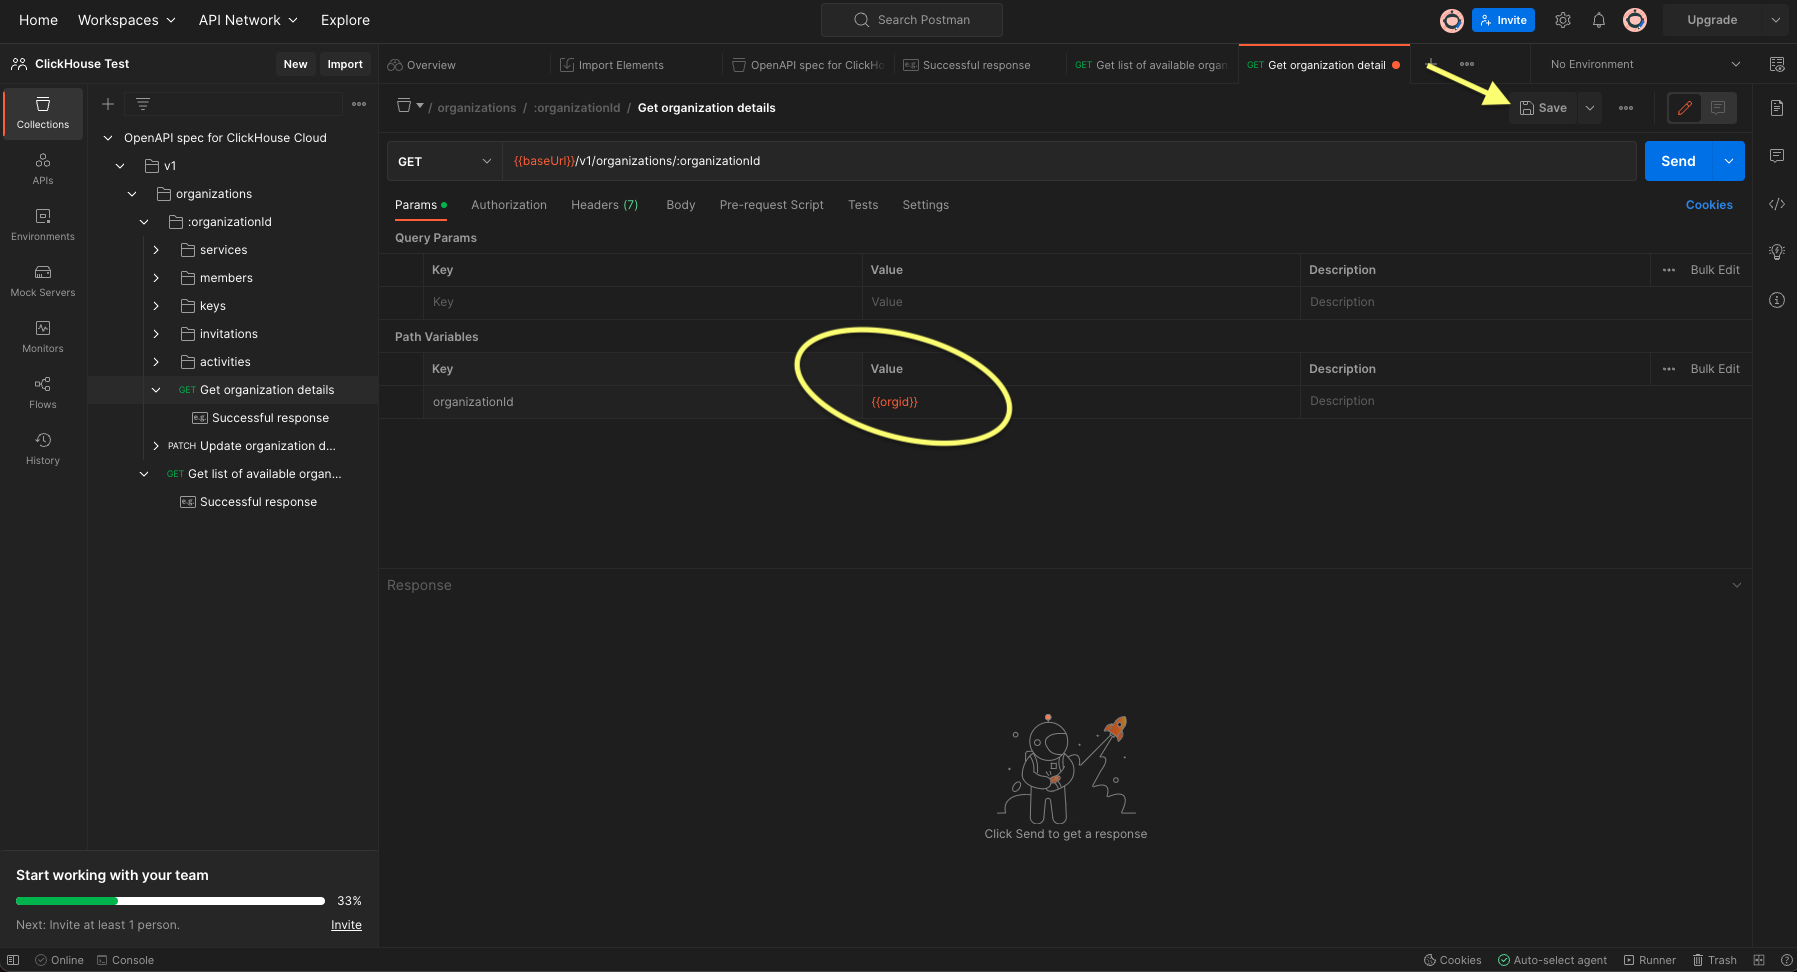
- After pressing the "Save" button, press the blue "Send" button at the top right of the screen.
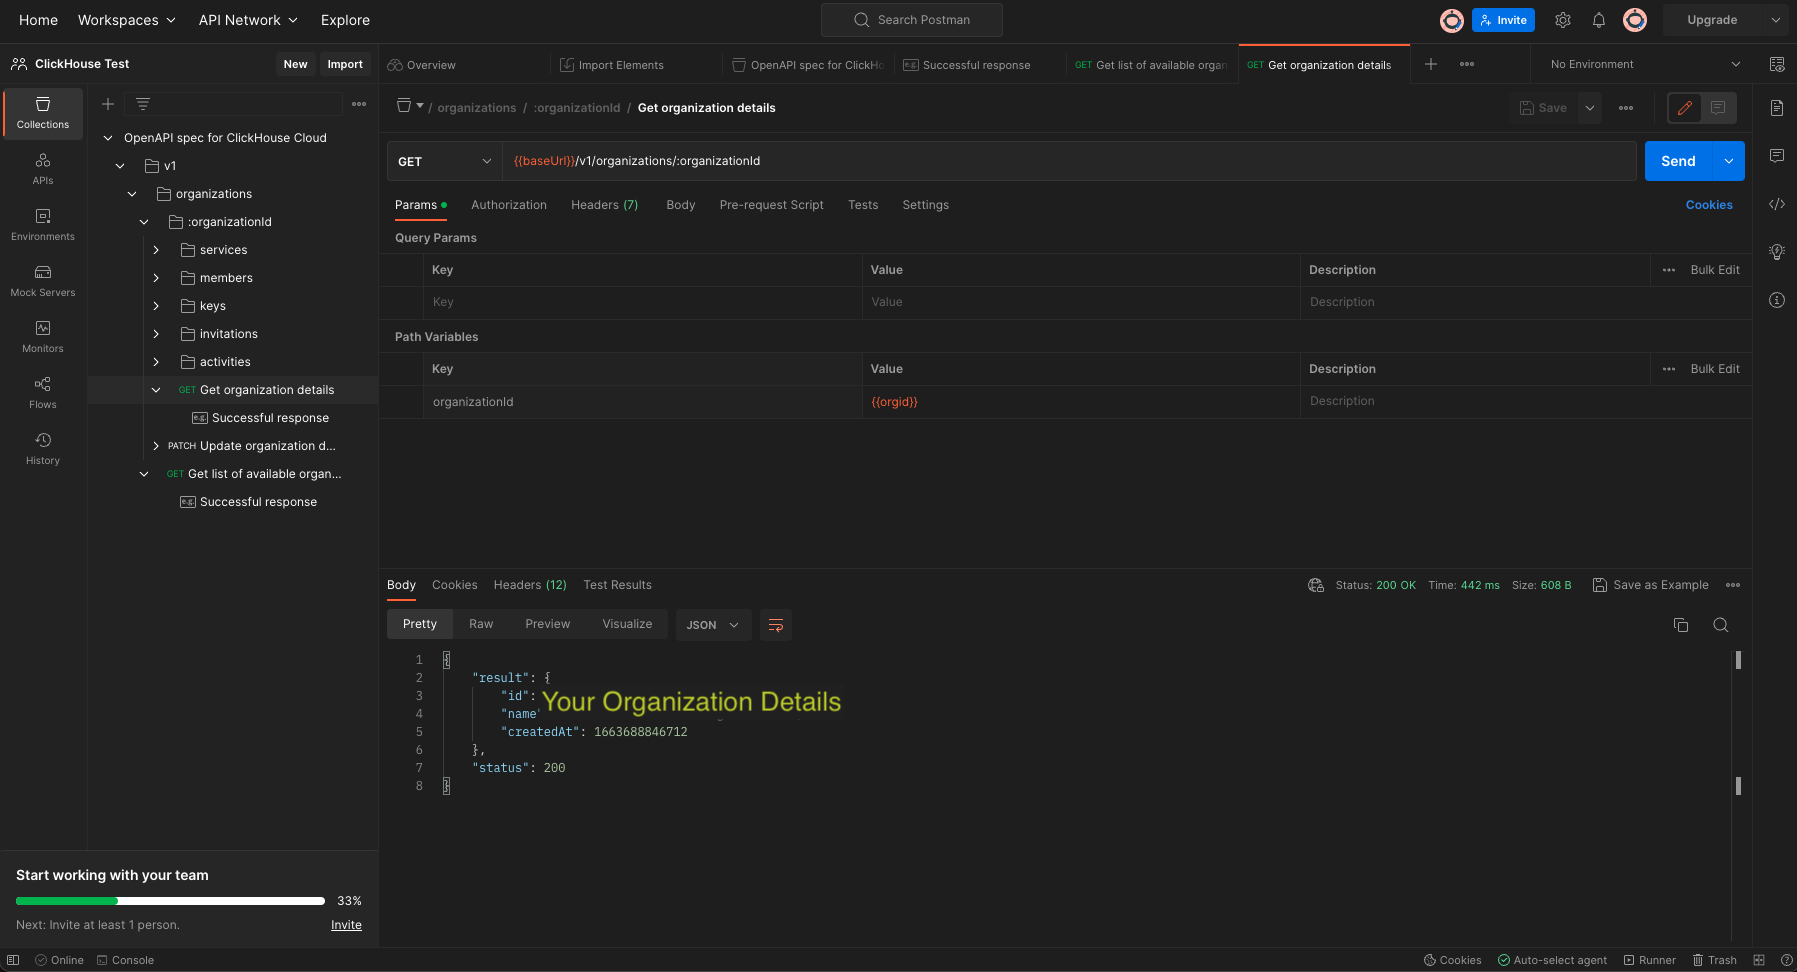
- The returned results should deliver your organization details with "status": 200. (If you receive a "status" 400 with no organization information your configuration is not correct).
Test "GET service details"
- Click "GET service details"
- Edit the Values for
organizationidandserviceidwith{{orgid}}and{{serviceid}}respectively. - Press "Save" and then the blue "Send" button on the right.
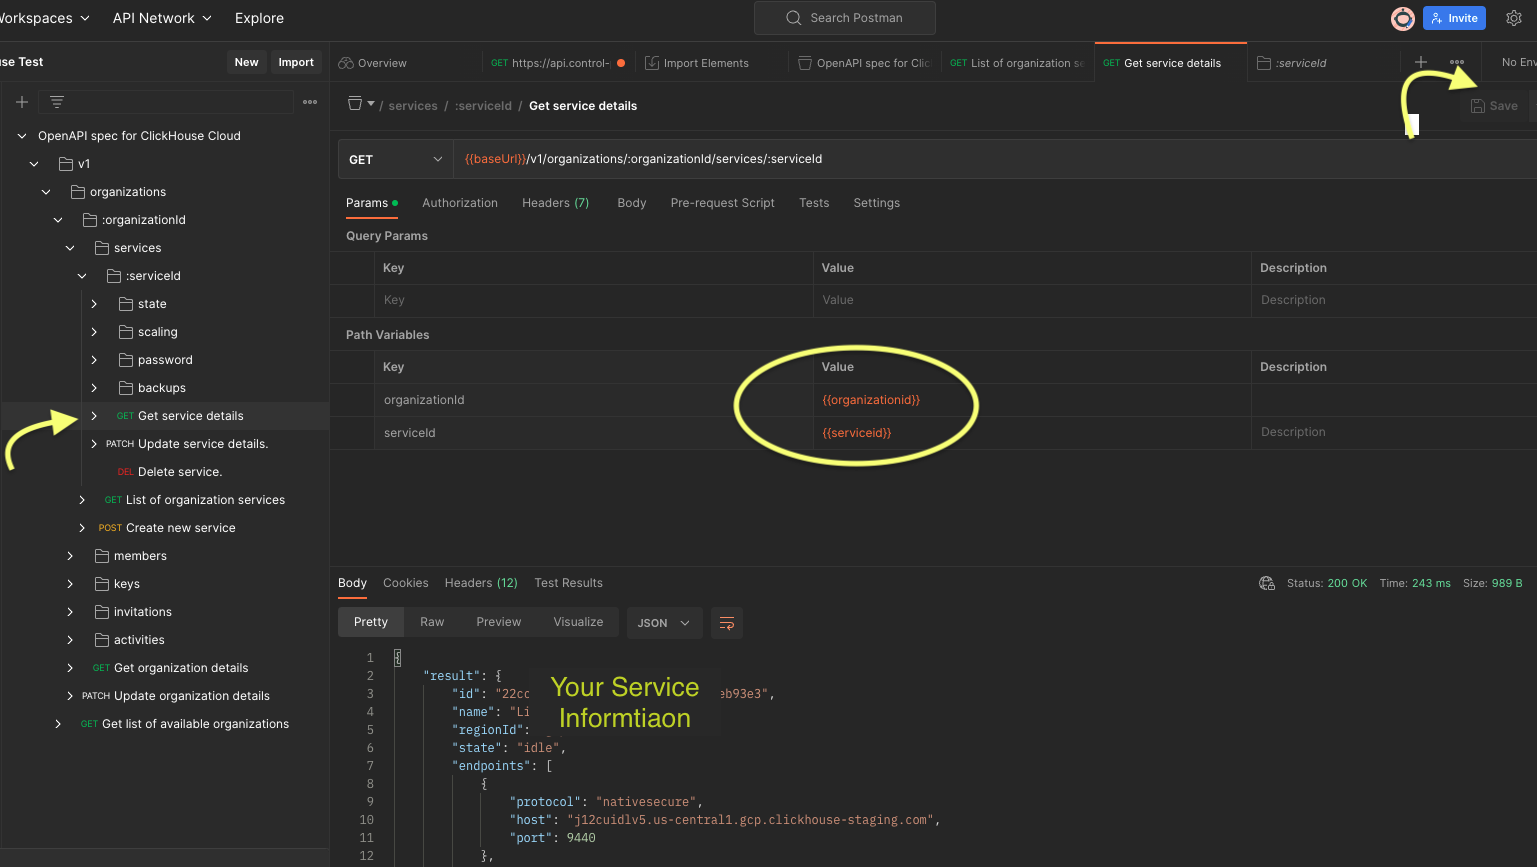
- The returned results should deliver a list of your services and their details with "status": 200. (If you receive a "status" 400 with no service(s) information your configuration is not correct).
